Services
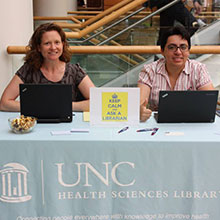
Consult a librarian for help with your health information needs, or take advantage of subject specific guides, tutorials, and classes.
Use the Ask a Librarian service to get help finding and organizing the information you need.
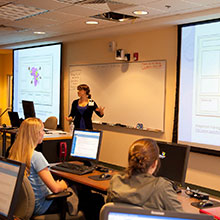
Sign up for Classes and Workshops. We regularly cover EndNote, NIH Public Access Compliance and more.
Our Subject Guides and Tutorials provide online self-help covering many areas such as…
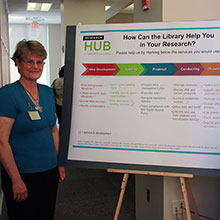
At every stage of your research process, health sciences librarians can consult with you and share our expertise in health information and research. The Research Hub @ HSL coordinates the library’s services for researchers.
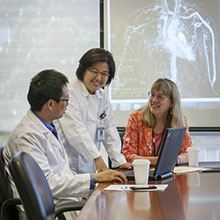
Our clinical librarians provide expert information services to complement health care practice and education.
 <
<
Instructional technology generates many questions. To find experts or campus services in this area, please use the Ask a Librarian service.


